
Devops Environment Prepare
本次实验以一个最基本的SpringCloud项目演示集成Gitlab CI/CD并自动发布到Kubernetes集群,实现完整的企业级devops实战
views
| comments
1、项目概述#
本次实验以一个最基本的SpringCloud项目演示集成Gitlab CI/CD并自动发布到Kubernetes集群,实现完整的企业级devops实战
1.1 服务器准备#
本地演示暂时不配置域名访问,所有服务通过ip访问,服务器操作系统采用RockyLinux9.5
- Kubernets集群(1M2S)
- Gitlab服务器 4C8G
- Harbor服务器(与Gitlab共用)
- 第三方组件服务器8C8G (Mysql、Redis、Nacos、Seata、Sentinel)
1.1.1 k8s集群#
集群安装参考其他文档,CRI容器运行时采用Docker,master主节点地址:10.211.55.7

1.1.2 Gitlab#
Gitlab安装参考官方文档
服务地址:http://10.211.55.11/

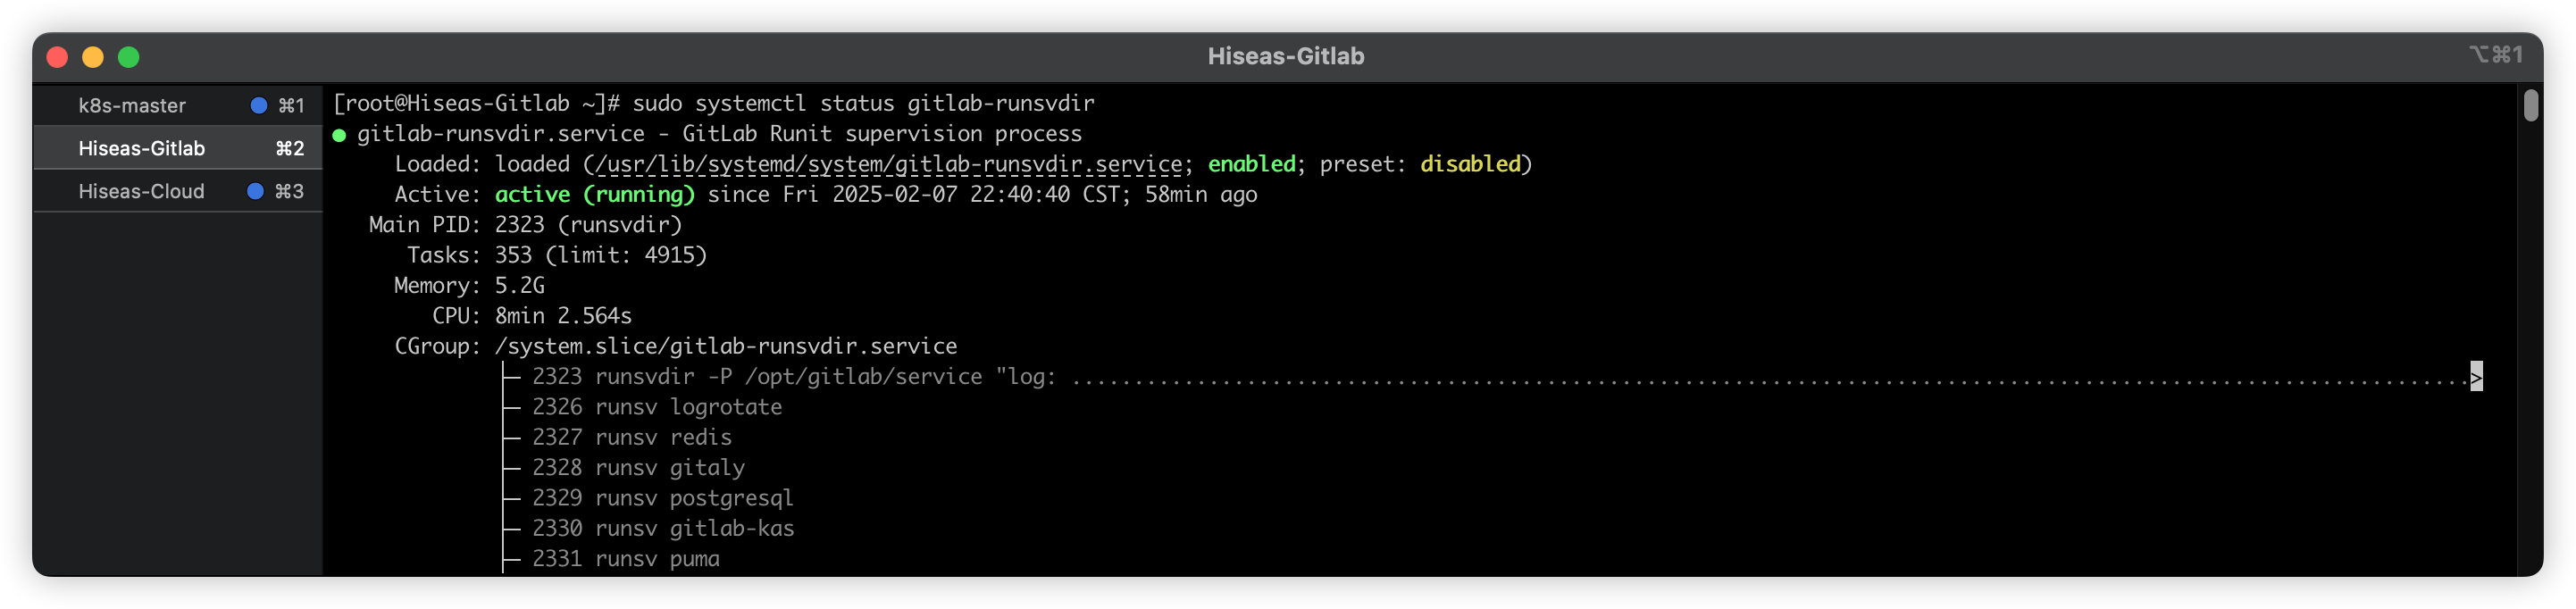
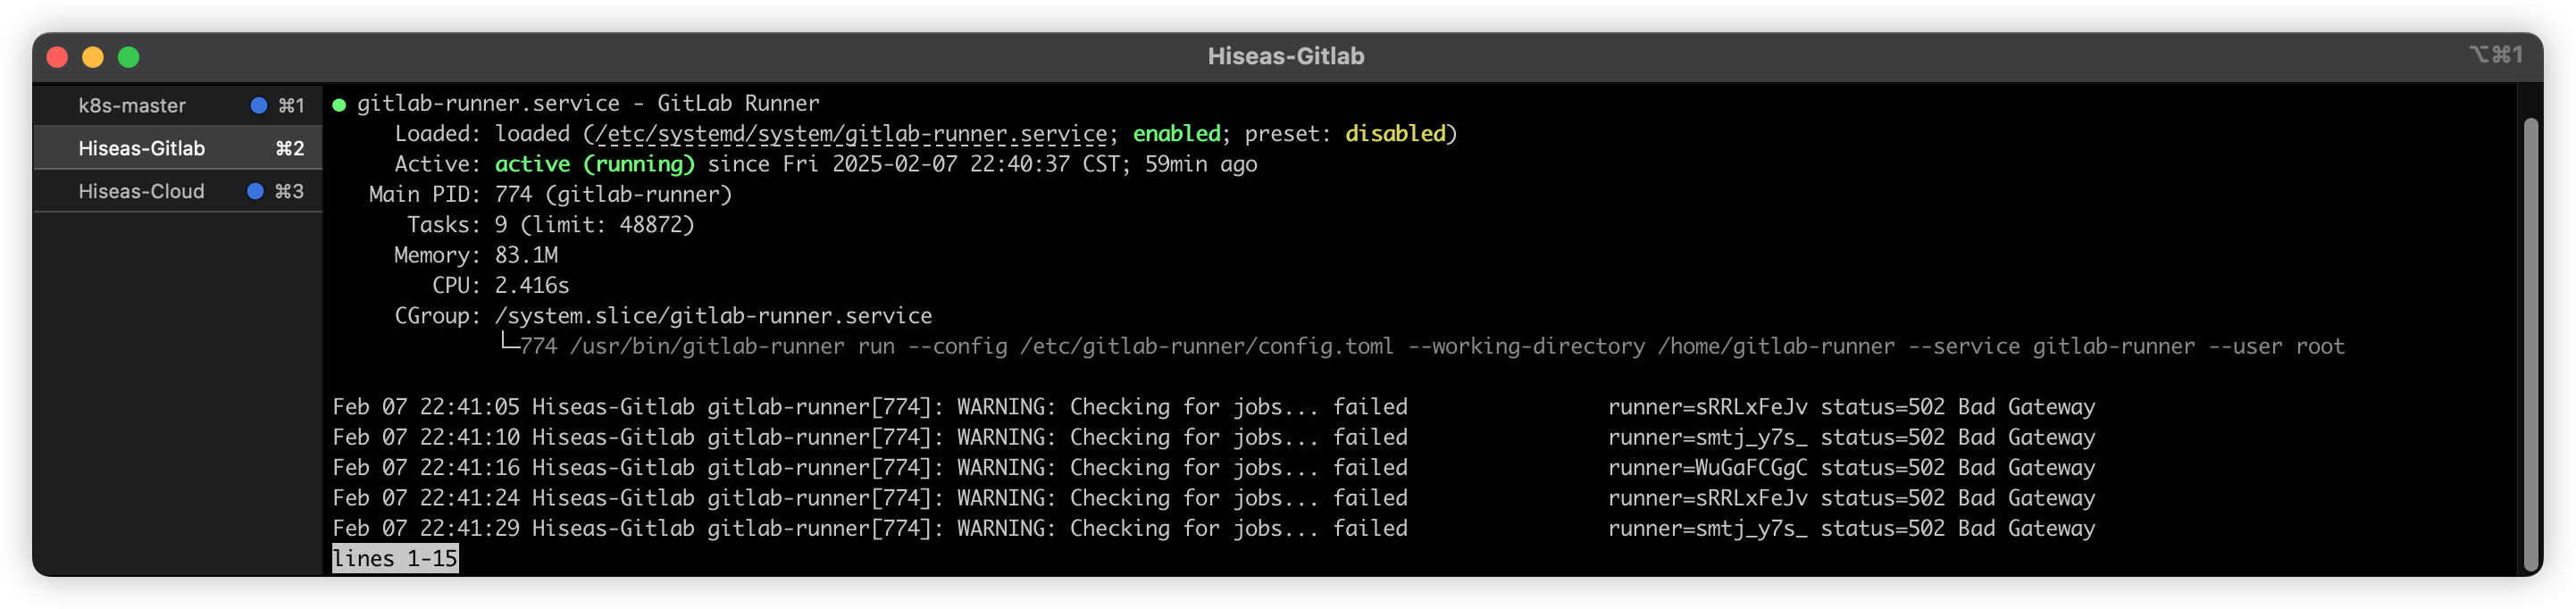
1.1.3 Gitlab Runner#
GitlanRunner与Gitlab服务器部署在同一机器上
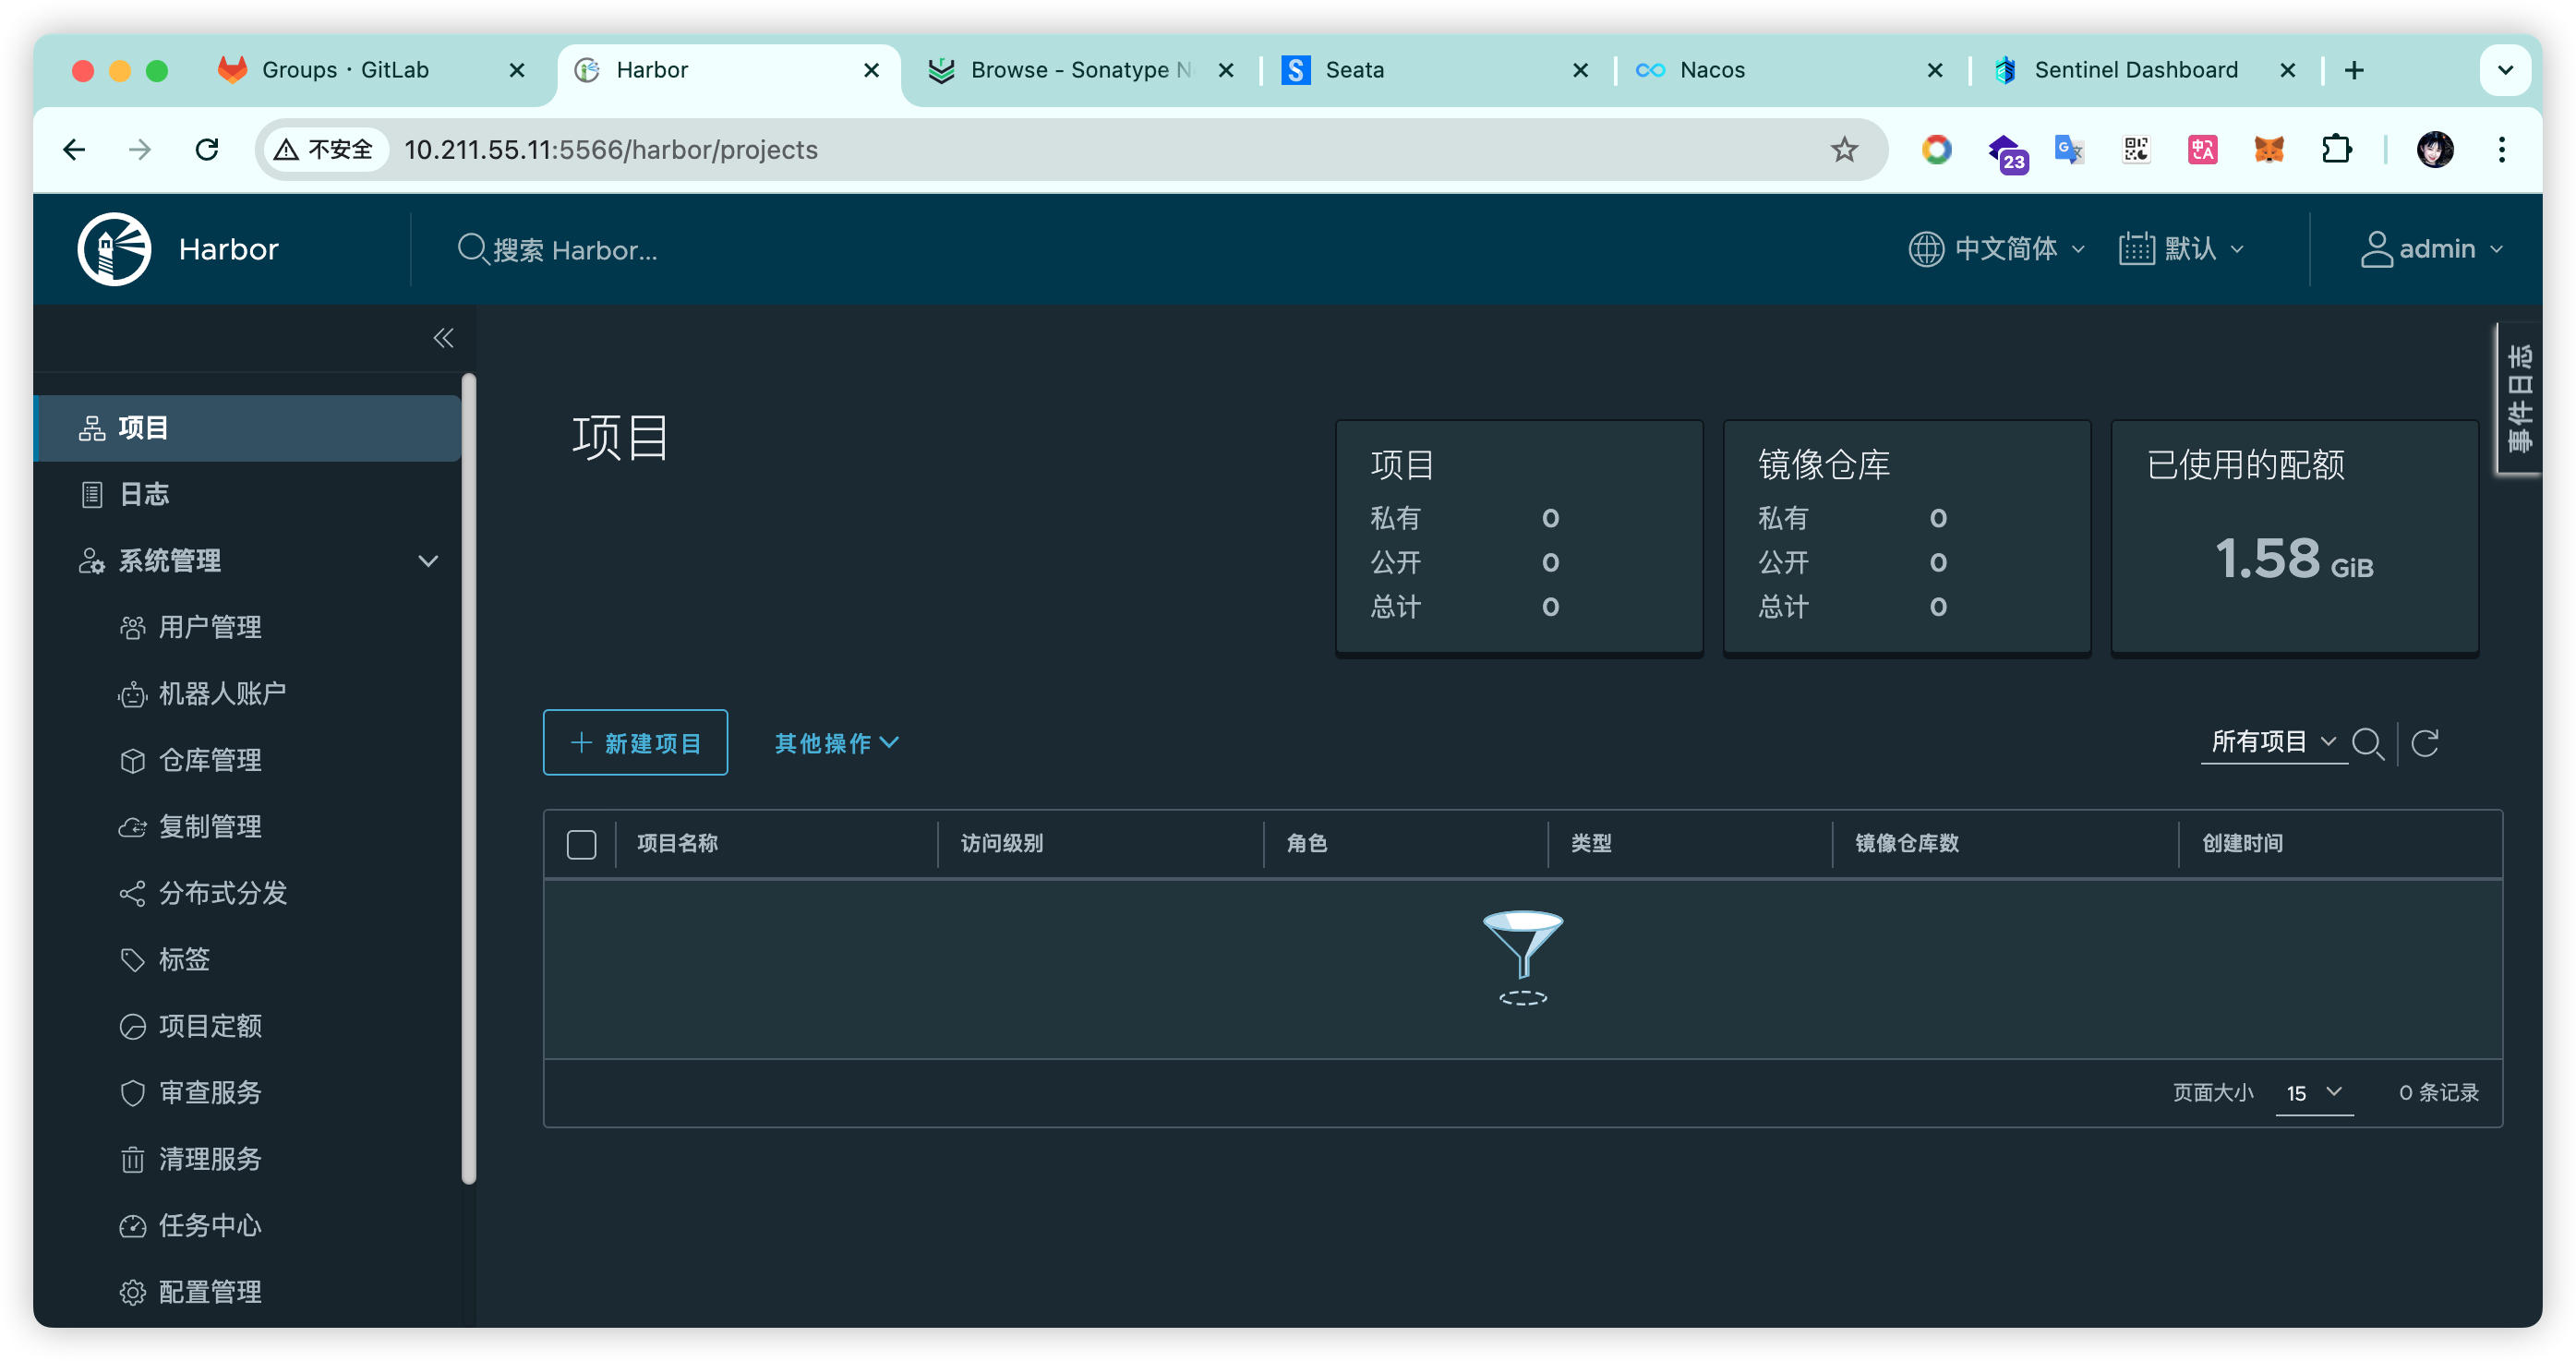
1.1.4 Harbor#
Harbor与Gitlab安装在同一服务器,端口5566
服务地址:http://10.211.55.11:5566/harbor/projects
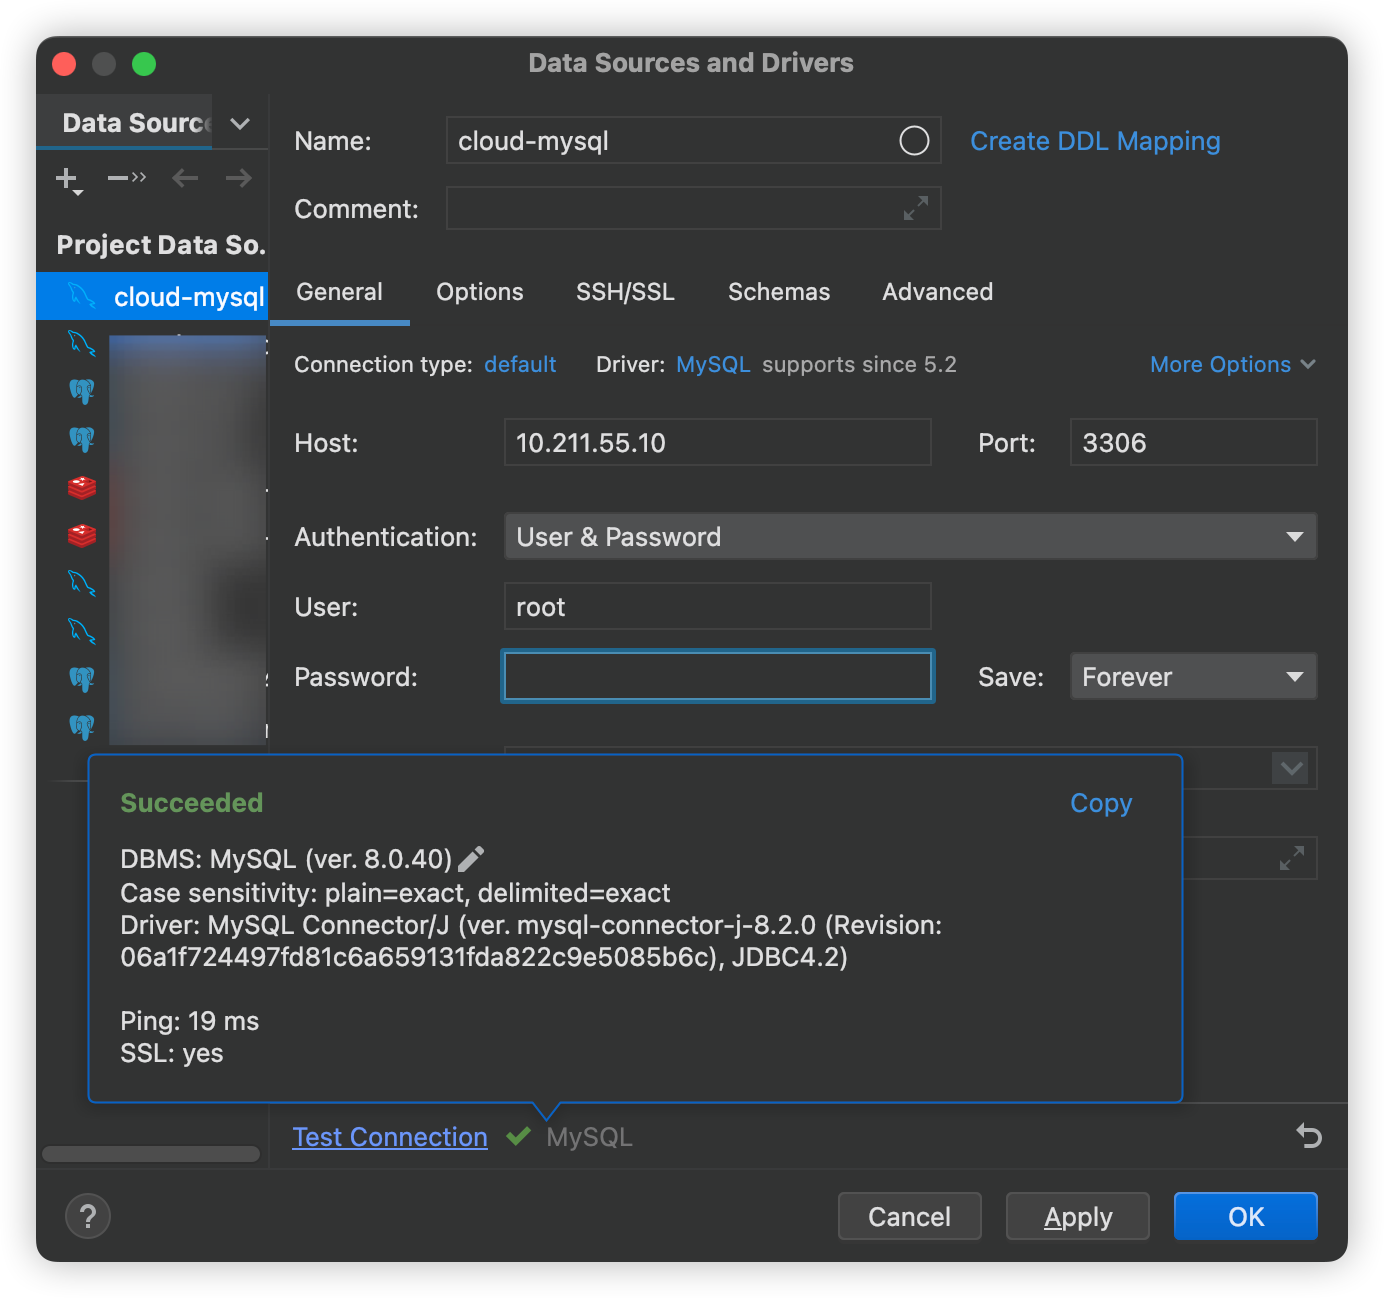
1.1.5 Mysql#
mysql采用Docker安装
services:
  db:
    image: mysql:8.0
    command: --default-authentication-plugin=mysql_native_password
    restart: always
    environment:
      MYSQL_ROOT_PASSWORD: 5566
    volumes:
      - ./data:/var/lib/mysql
    ports:
- "3306:3306"服务地址:10.211.55.10:3306

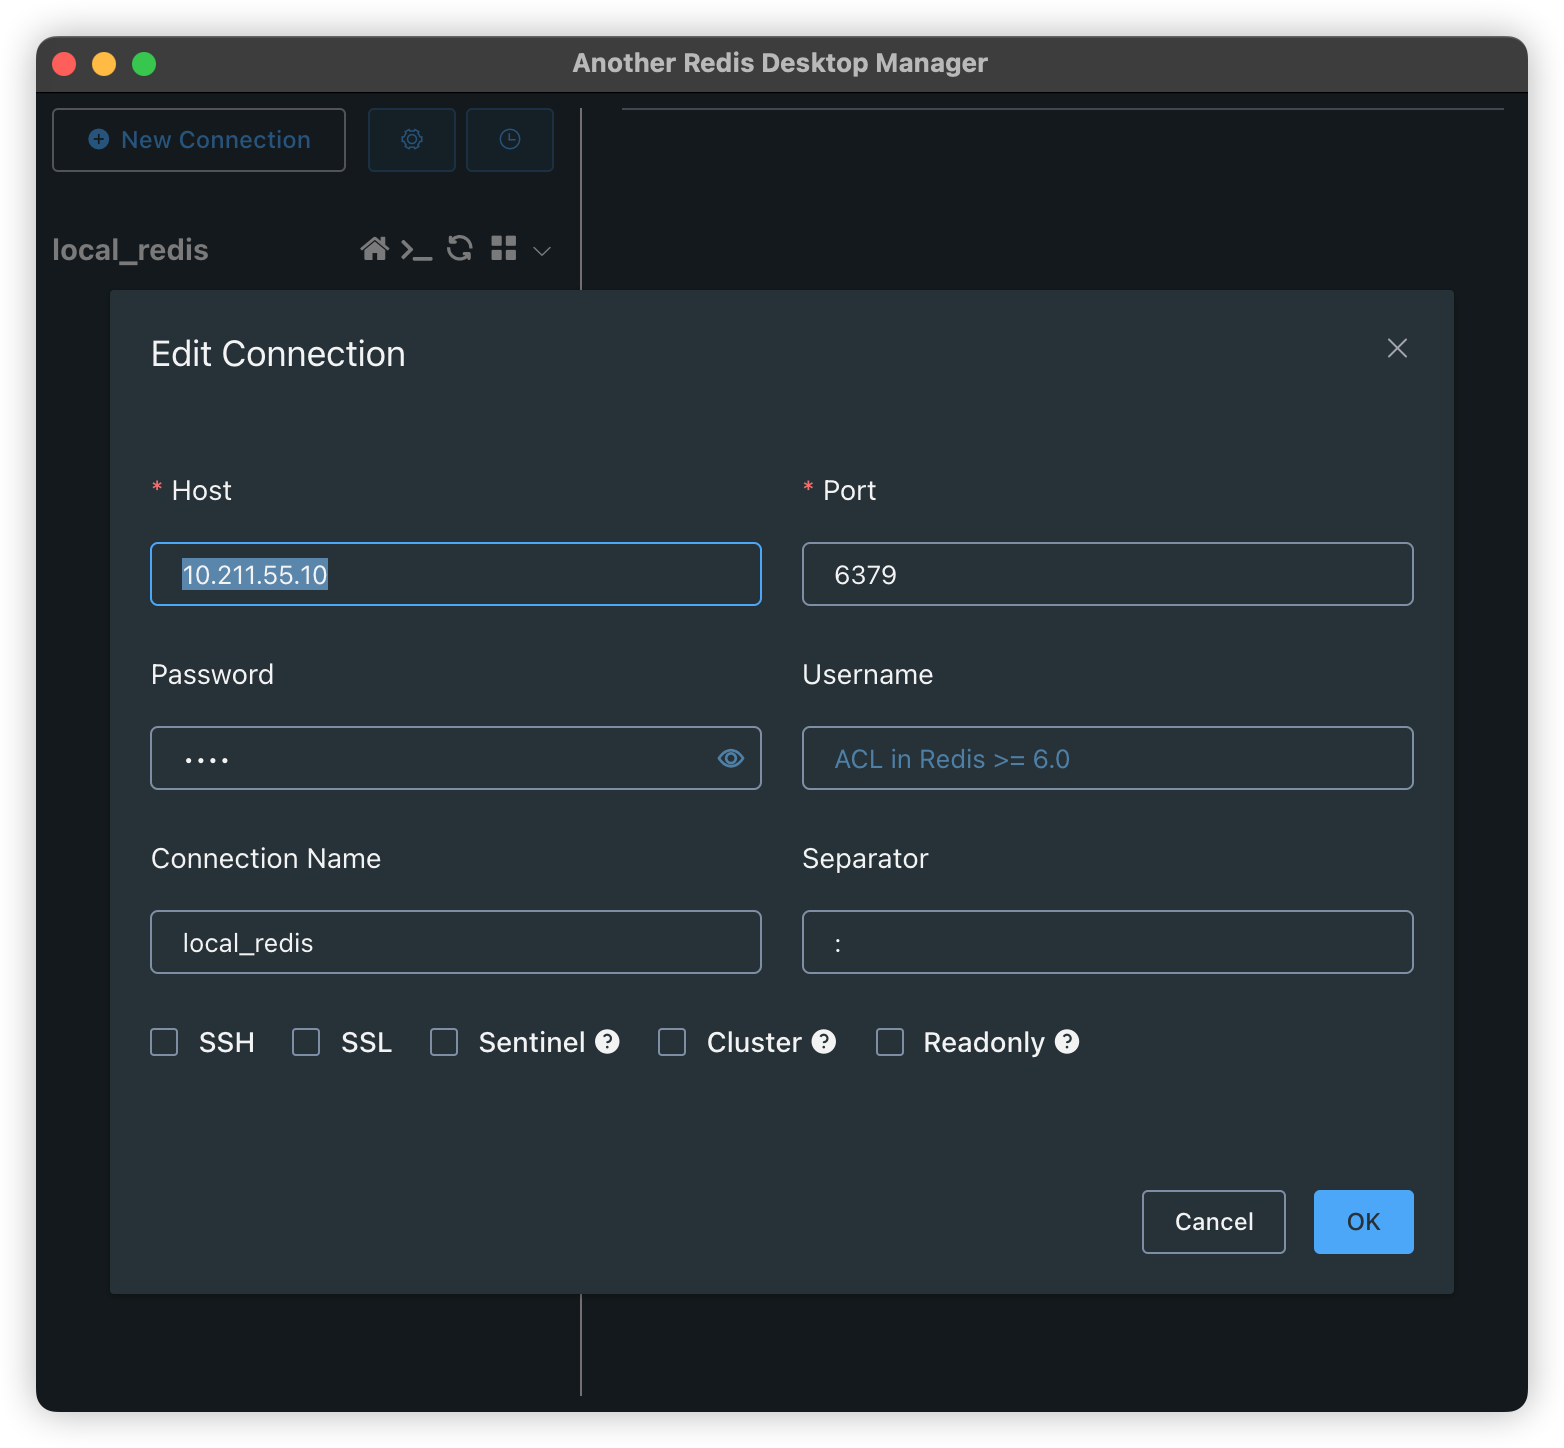
1.1.6 Redis#
Redis同样采用Docker安装
services:
  redis:
    image: redis:7.0
    restart: always
    command: redis-server --requirepass "5566"
    ports:
      - "6379:6379"
    volumes:
- ./data:/data服务地址:10.211.55.10:6379
1.1.7 Nacos#
Nacos直接采用官网包运行单实例,数据存储采用自建mysql
服务地址:10.211.55.10:8848


1.1.8 Sentinel#
sentinel采用官网Jar包方式运行
服务地址:10.211.55.10:8791
WEB地址:10.211.55.10:8080

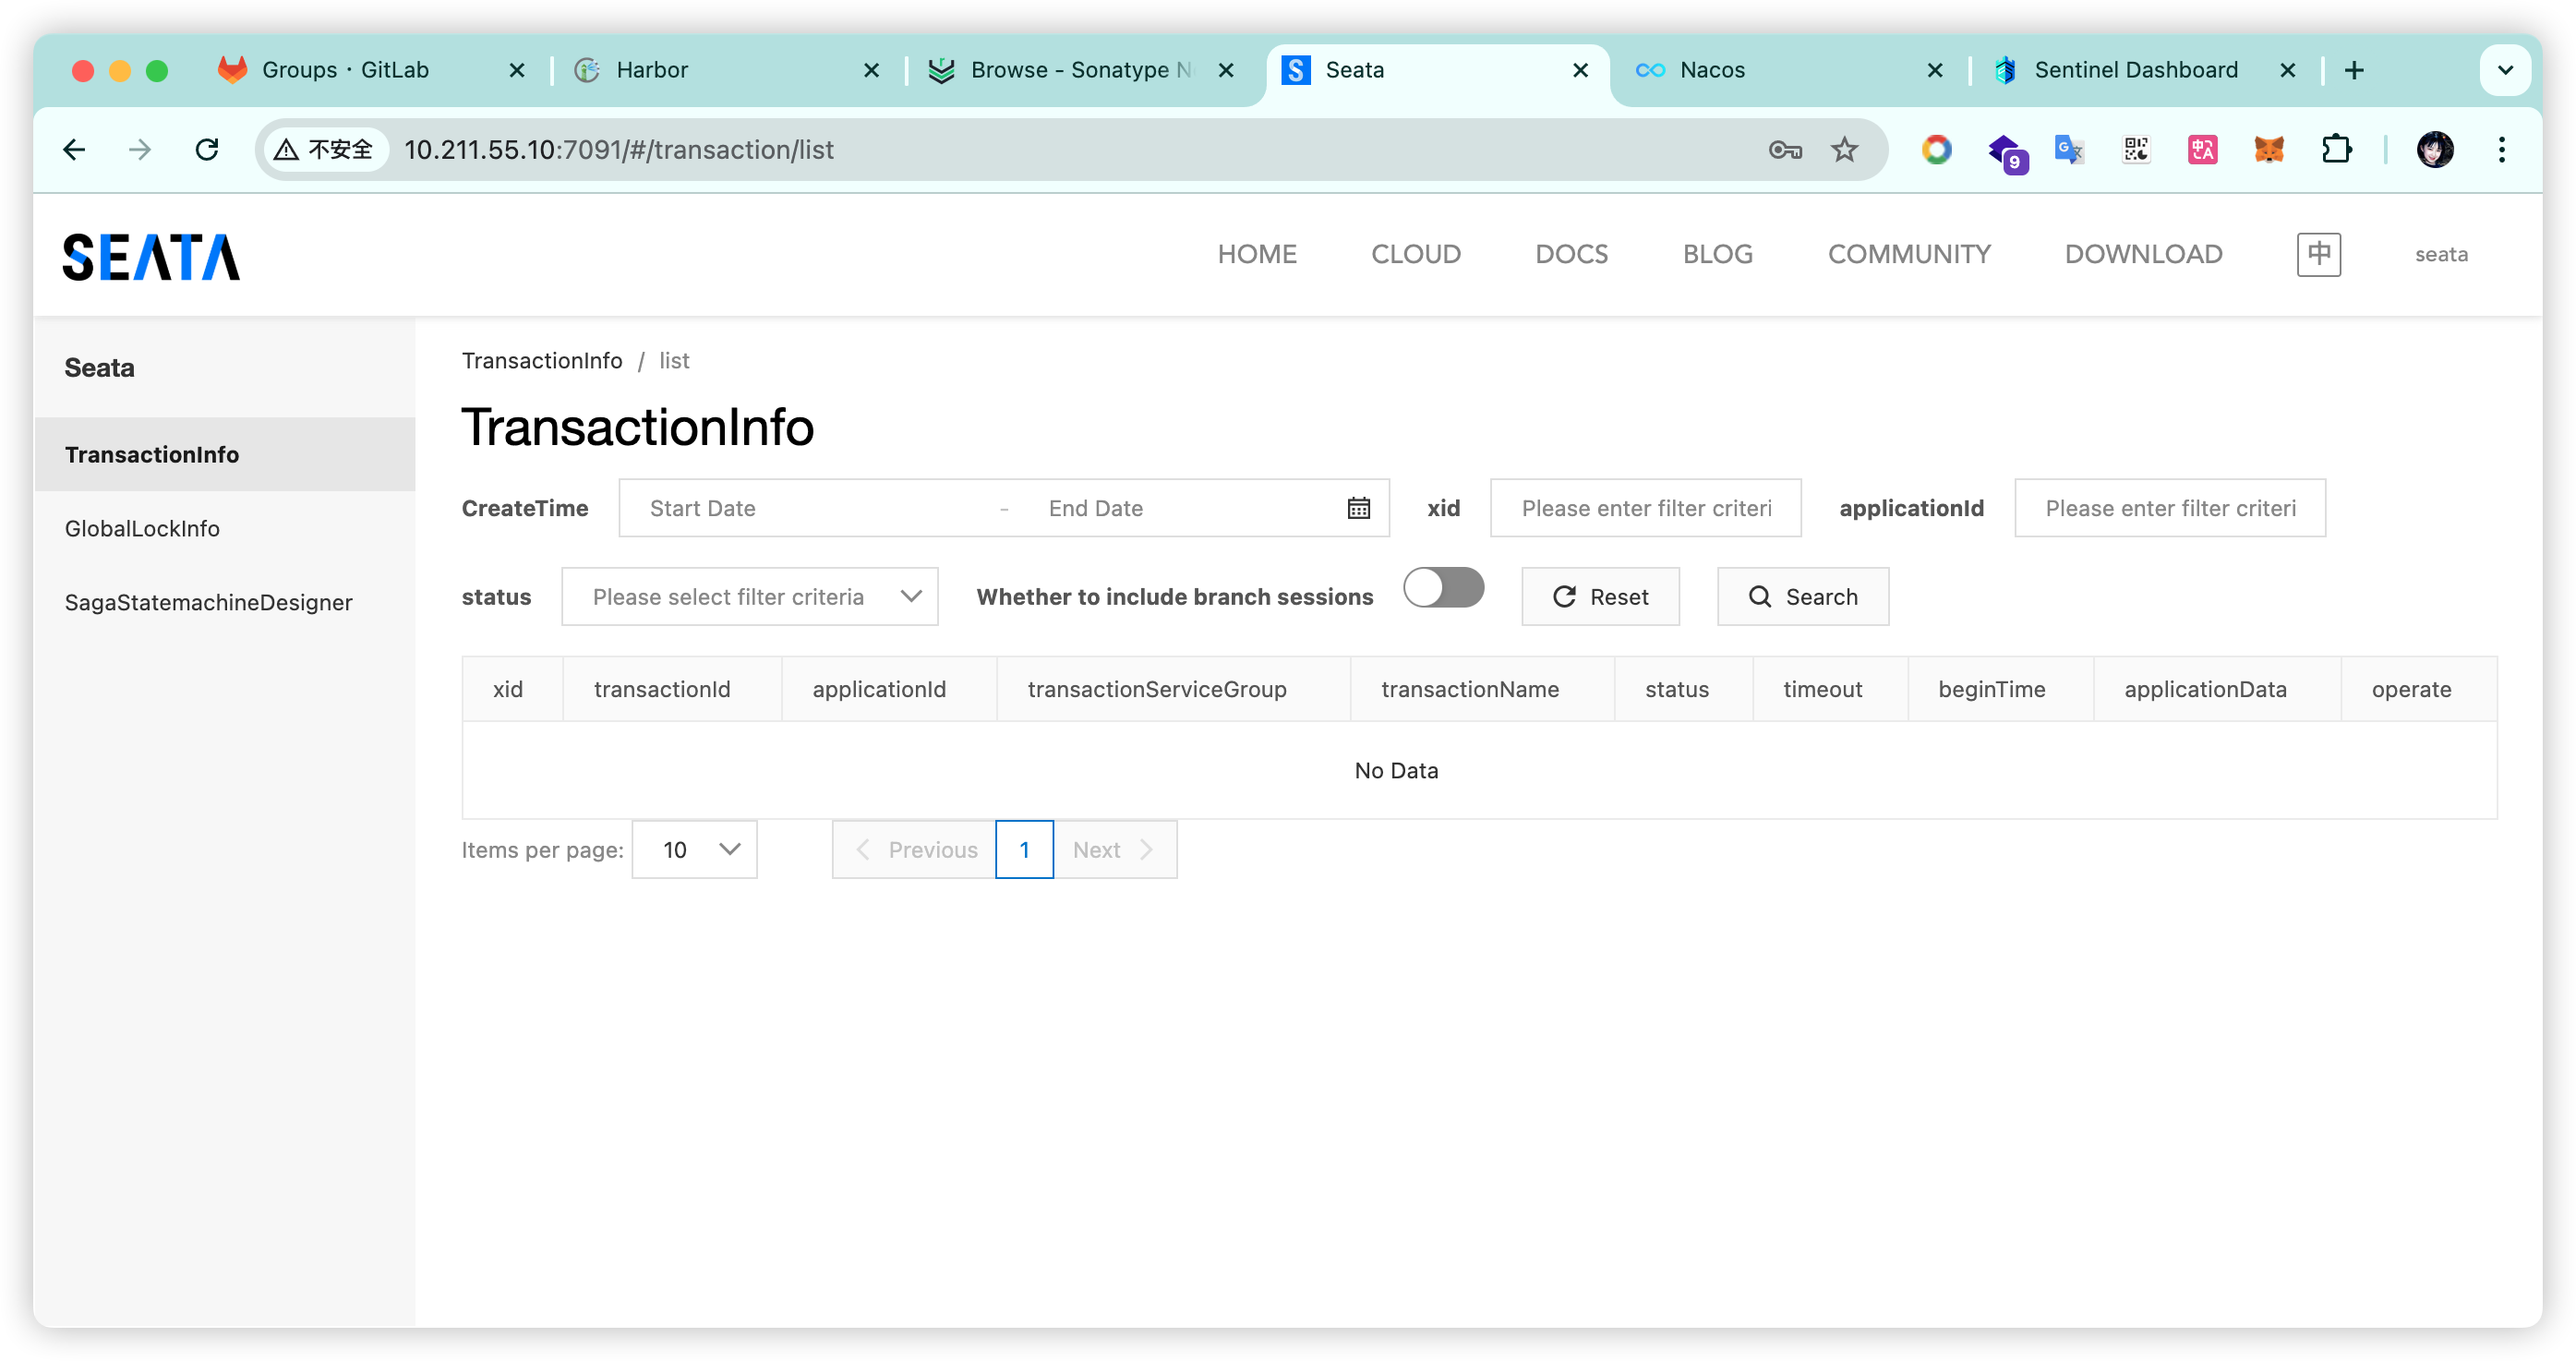
1.1.9 Seata#
Seata采用docker安装,数据存储采用自建Mysql实例
services:
  seata:
    image: seataio/seata-server:2.0.0
    container_name: seata-server
    hostname: seata-server
    restart: always
    ports:
      - "8091:8091"
      - "7091:7091"
    environment:
      - SEATA_PORT=8091
      - STORE_MODE=db
      - SEATA_STORE_DB_DRIVER_CLASS_NAME=com.mysql.cj.jdbc.Driver
      - SEATA_STORE_DB_URL=jdbc:mysql://10.211.55.10:3306/seata_db?useUnicode=true&characterEncoding=UTF-8&serverTimezone=Asia/Shanghai
      - SEATA_STORE_DB_USER=root
- SEATA_STORE_DB_PASSWORD=5566服务地址:10.211.55.10:8091
WEB地址:10.211.55.10:7091
1.1.10 Nexus#
Nexus私服采用Docker 安装
服务地址:10.211.55.10:8081
services:
  nexus:
    image: sonatype/nexus3:3.76.0
    container_name: nexus
    restart: always
    environment:
      - TZ=Asia/Shanghai
    ports:
      - 8081:8081
    volumes:
      - ./data:/nexus-data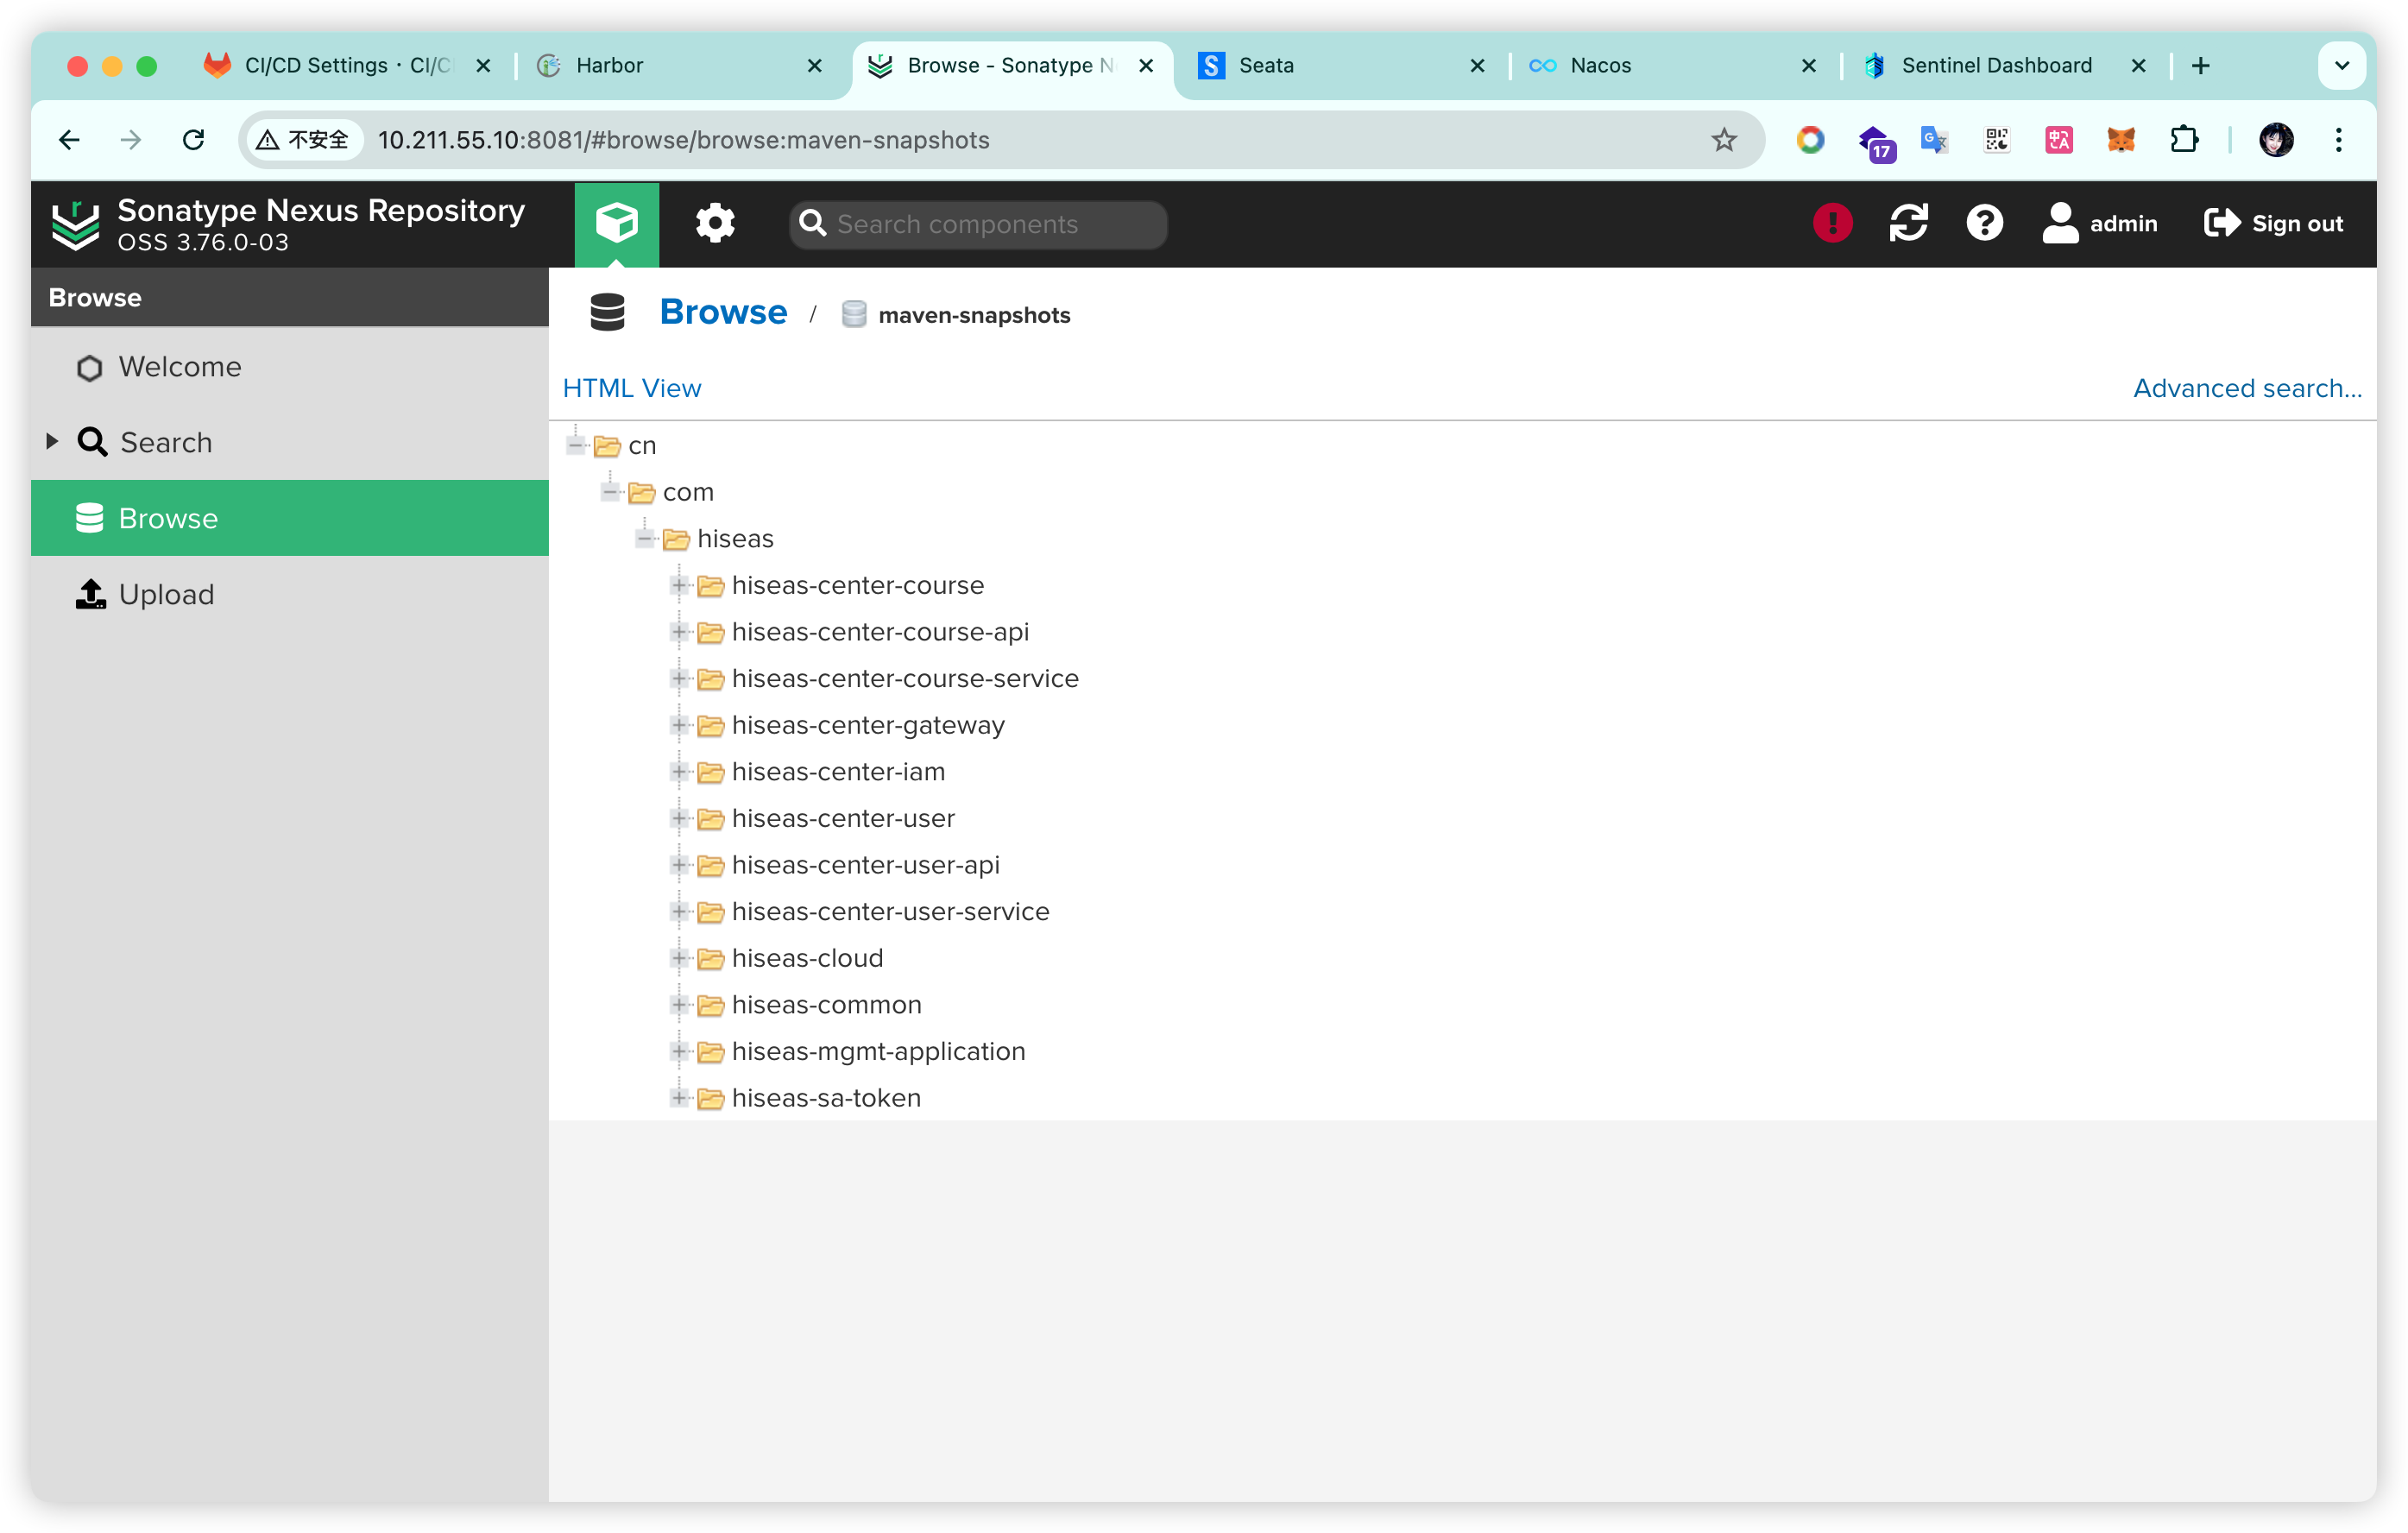
1.1.11 Sonar 代码扫描#
TODO
2 Maven配置#
maven配置nexus私服设置,在settings.xml加入以下配置
2.1 Nexus地址和账号密码#
<servers>
    <server>
        <id>nexus-releases</id> <!-- 这个ID应该与pom.xml中的distributionManagement部分匹配 -->
        <username>admin</username>
        <password>759023074Fx</password>
    </server>
    <server>
        <id>nexus-snapshots</id> <!-- 这个ID也应该与pom.xml中的distributionManagement部分匹配 -->
        <username>admin</username>
        <password>759023074Fx</password>
    </server>
</servers>2.2 配置私服地址#
<profiles>
    <profile>
        <id>nexus</id>
        <repositories>
            <repository>
                <id>nexus</id>
                <url>http://nexus.hiseas.com:8081/repository/maven-public/</url>
                <releases>
                    <enabled>true</enabled>
                </releases>
                <snapshots>
                    <enabled>true</enabled>
                </snapshots>
            </repository>
        </repositories>

        <pluginRepositories>
            <pluginRepository>
                <id>nexus-plugins</id>
                <url>http://nexus.hiseas.com:8081/repository/maven-public/</url>
                <releases>
                    <enabled>true</enabled>
                </releases>
                <snapshots>
                    <enabled>true</enabled>
                </snapshots>
            </pluginRepository>
        </pluginRepositories>
    </profile>
</profiles>

<activeProfiles>
<activeProfile>nexus</activeProfile>
</activeProfiles>至此,整个实验项目所有依赖的第三方组件均已准备完毕,接下来就需要准备一个Spring Cloud的项目,首先在本地正常运行和测试